South Hell School Map
Major rooms, hallway links, and how each wing feeds keys, tools, and the basement exit.
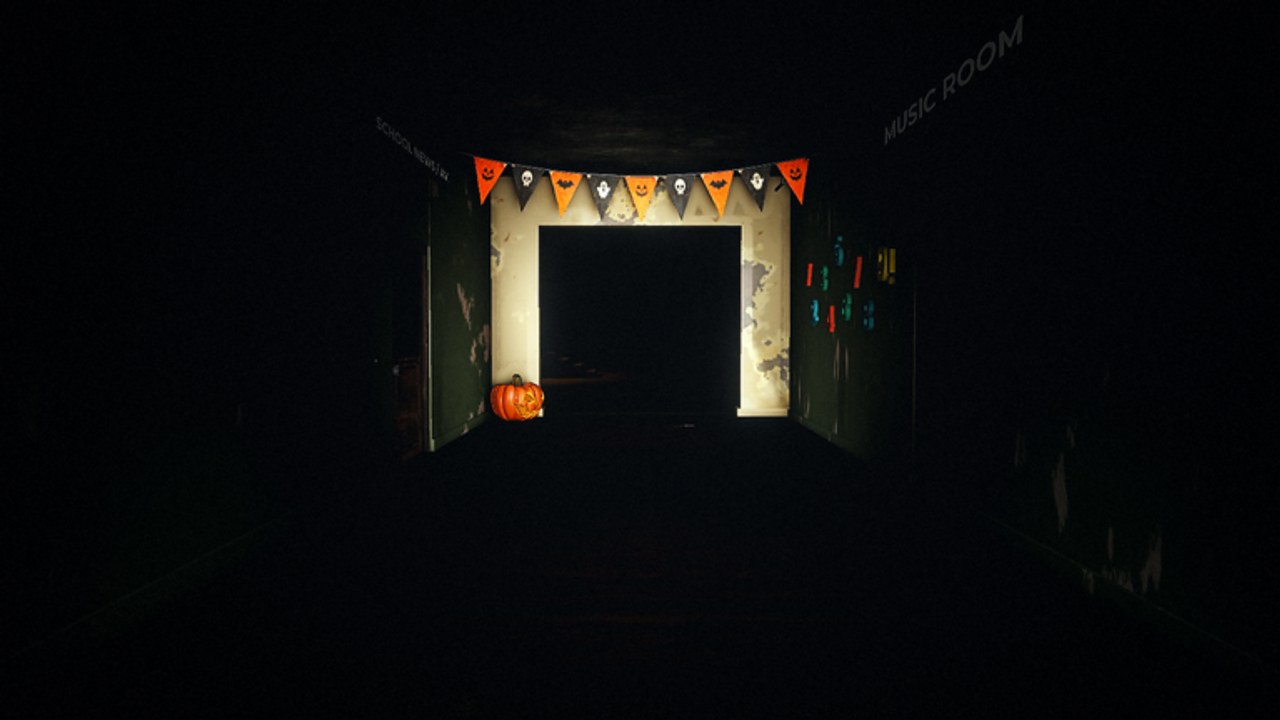
South Hell’s school is the whole puzzle. Keys, bait, crowbar work, and the final Escape all sit on a compact map of labeled rooms and dark halls. This school map guide orients you before you memorize every corner: which wings matter for the four colored keys, where players commonly find tools, and how routes fold back to the basement EXIT DOOR. Pair it with exact locker spots on Key Locations, chase habits on Survive Cartman, and the start-to-finish route in the Full Walkthrough. Beginners should still skim Getting Started for crowbar and lives. When the door sticks after 4/4, jump to Jammed Exit. Index: Guides Hub.
How to read this map
Think in loops, not tourist checklists. Every useful room either (1) holds a key or scare, (2) stocks a survival tool, or (3) sits on a path between a key and the basement. If a hallway does none of those, treat it as optional noise until you know the core loop cold.
Anchor landmarks every life:
- Basement — spawn, crowbar zone, EXIT DOOR padlocks, primary safe room.
- Red-lit maintenance room — second safe room when the door stays closed.
- Main school halls feeding classrooms, lockers, nurse side, and lab side.
Close safe doors when you pass. Open doors cancel the protection Cartman respects.
Basement and first boards
You wake downstairs. The crowbar sits between the green electrical cabinet and the toilet. Pry five boards with E so the stair/hall path into the school opens. Until those boards are clear, map knowledge barely matters — you are trapped in the opener. After boards, note the glowing EXIT DOOR with Blue / Yellow / Red / Green padlocks. That door is the only win condition; every wing exists to feed it.
Key wings (the four locks)
4TH GRADE classroom — Blue
Blue lives in green lockers inside the 4TH GRADE classroom. This wing is usually the friendliest first pickup. Listen for the locker jingle before emptying empty banks. Bank Blue early when your lobby wants a guaranteed first padlock.
LOCKER ROOM / Boys Locker & Showers — Yellow
Yellow sits in a lower locker in the LOCKER ROOM. Expect the Ike scare. Do not shine the flashlight on Ike. Videos and lobbies also talk about the broader Boys Locker / Showers cluster as the same high-tension wet-side area — treat it as one danger zone with a planned retreat to a HIDING PLACE locker or safe door. Deep Ike vs Cartman rules: Cartman and Ike.
Outside NURSE — Red
Red is just outside the NURSE room, on an exposed approach. Peek audio before you commit. Many teams bank Red immediately because the nurse hall is loud and contested on full servers.
COMPUTER LAB — Green
Green is in the COMPUTER LAB. Lab runs are often darker — bring flashlight discipline without breaking Ike rules on the path. Green frequently becomes the last color before the RUN alert.
Full locker and banking detail: Key Locations.
Support rooms players mention in clears
These rooms are not always key holders, but they show up constantly in walkthrough footage and public lobbies.
Gym
The Gym is a large open landmark used for orientation and sometimes for bait plays. Open floors make Cartman sightlines scary — cross with a plan, not a scenic jog. Use Gym as a “where am I?” reset when you get turned around after a chase.
Cafeteria
The Cafeteria is strongly associated with Fried Chicken bait loot in community clears. Grab chicken when safe; spend it to yank HE off a key carrier, not as hallway trash. Connect cafeteria runs back toward basement or nurse/lab routes instead of looping forever for snacks.
Theater / News room
Theater and News spaces appear in creator routes as mid-map landmarks and occasional loot checks. Treat them as optional stops unless your lobby’s callouts say otherwise. They help with callouts (“HE theater side”) even when they are empty of keys.
Library
The Library is sometimes mentioned as a place where a final key can feel “stuck” in confused lobbies, or as a late search when jingles are misheard. Do not invent a fifth color — if a key is missing, re-check the four labeled rooms and death-drop spots first. Library is a good quiet rethink room, not a substitute for Key Locations.
Music / AV room
Music / AV areas are commonly tied to Alarm Clock decoy finds in player videos. Clocks buy roughly ten seconds of misdirection — perfect after a noisy locker open. If your loadout lacks a decoy before the fourth key, a Music/AV sweep can matter more than another empty classroom tour.
Hiding places and safe geometry
Green lockers labeled HIDING PLACE are survival UI, not key banks. Press E, then click shrinking circles. Fail the QTE and you get exposed mid-hallway. Learn at least one hide locker on the path from 4TH GRADE, one near locker/shower side, and one on the nurse–lab approach so every key wing has a panic button.
Safe rooms again: basement and red-lit maintenance. During the endgame RUN alert after 4/4, stop camping — commit to Escape. If the door jams, search floors for crank parts per Jammed Exit.
Suggested mental routes
Split-lobby map
- Pair A: 4TH GRADE (Blue) ↔ LOCKER ROOM (Yellow)
- Pair B: NURSE approach (Red) ↔ COMPUTER LAB (Green)
- Floater: basement recovery for dropped keys
Solo map
Clear one wing, bank, then the next. Prefer banking after each pickup when HE audio is hot. Solo routing depth: Solo Escape.
Endgame map
When the fourth padlock locks, ignore side rooms. Shortest known path to basement EXIT → E Escape. Crank only if jammed.
Audio landmarks
- Locker jingle — key inside a nearby locker.
- HE footsteps / shouts — walk, hide, or commit to a closed safe door.
- RUN shout for keys — stop looting, go basement.
Headphones recommended. Mic spam paints wings — see Survive Cartman and Controls.
Common map mistakes
- Touring Gym and Theater for fun while holding three keys.
- Confusing HIDING PLACE lockers with key search lockers under panic.
- Leaving basement or maintenance doors open after a bank.
- Assuming Library replaces a missed Green in Computer Lab.
- Door-camping a jam instead of looking down for crank parts.
How this page fits the wiki
Use the school map to build spatial memory, then lean on sibling guides for execution. Codes and Cash still help shop prep before you learn wings — Codes. Tool priority after you know rooms: Survival Tools Tier List. Badge goals after clean clears: Badges.
Learn the basement loop, the four key rooms, and three support landmarks (Gym, Cafeteria, Music/AV). Everything else is optional flavor until your Escape rate climbs. The school stops feeling random once every hallway answers one question: key, tool, or path home?
Frequently Asked Questions
Quick answers for escaping South Hell and surviving Cartman.
What are the most important rooms on the South Hell map?
Basement and maintenance safe rooms, plus the four key areas: 4TH GRADE, LOCKER ROOM, outside NURSE, and COMPUTER LAB. Support rooms like Gym, Cafeteria, and Music/AV help with orientation and loot.
Where do the four keys sit on the school map?
Blue in 4TH GRADE green lockers, Yellow in the LOCKER ROOM lower locker, Red just outside NURSE, and Green in the COMPUTER LAB. See the Key Locations guide for banking tips.
Do Gym, Library, and Theater hold required keys?
They are landmarks and sometimes loot or callout rooms. Required colors still come from the four labeled key areas unless a drop or confusion sends you searching elsewhere.
Where do players often find Fried Chicken and Alarm Clocks?
Community clears often associate Fried Chicken with the Cafeteria and Alarm Clocks with Music/AV-style rooms. Always confirm in your session—loot spawns can vary.
What should I do when I get lost mid-chase?
Reset to a known landmark (Gym, nurse hall, or basement stairs), take the shortest path to a closed safe door or HIDING PLACE locker, then re-orient before hunting keys again.